A dripping faucet is annoying and expensive. That constant drip-drip-drip can waste up to 3,000 gallons of water per year. Learning how to fix a leaky faucet yourself saves money on your water bill and prevents you from paying for a plumber.
The good news? Most faucet leaks are easy to fix with basic tools you probably already own. You don’t need plumbing experience—just 30 minutes and our simple guide. Let’s stop that drip and put money back in your pocket!
Why Faucets Leak and What It Costs You
Before you learn how to fix a leaky faucet, it helps to understand why they leak. The most common cause is worn-out washers or O-rings. These small rubber pieces create a watertight seal, but they wear down over time from constant use and water pressure.
According to the Environmental Protection Agency, household leaks waste nearly 1 trillion gallons of water annually nationwide. A single leaky faucet dripping once per second wastes over 3,000 gallons yearly—that’s enough water for 180 showers!
The financial impact adds up quickly. At average water rates, one leaky faucet costs about $35 per year. Homes often have multiple dripping faucets, multiplying those costs. Plus, constant moisture can damage your sink, cabinets, and countertops. Fixing leaks protects both your wallet and your home.
Tools and Materials You’ll Need
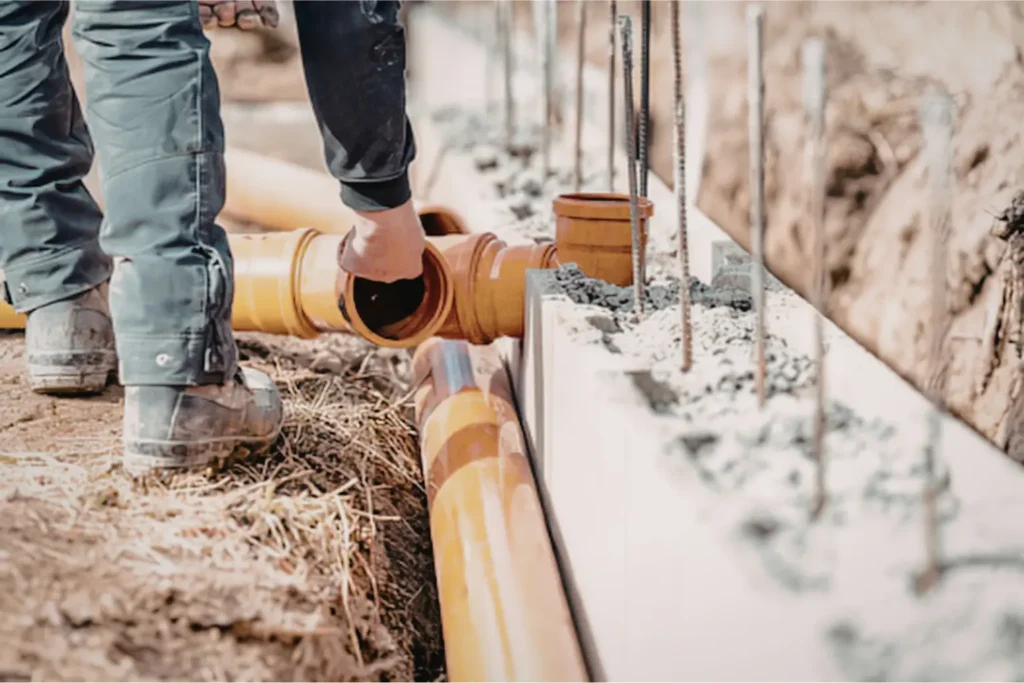
Gathering your supplies before starting makes the job easier when you learn how to fix a leaky faucet. You’ll need an adjustable wrench or pliers, a flathead screwdriver, a Phillips screwdriver, and replacement washers or O-rings from any hardware store.
Keep a flashlight handy for seeing under the sink. Grab an old towel or bucket to catch water, plus some plumber’s grease to lubricate new parts. Most hardware stores sell faucet repair kits for $5-15 that include all the washers and O-rings you might need.
Optional but helpful items include an Allen wrench set (some faucets use these), needle-nose pliers for tight spaces, and white vinegar for cleaning mineral deposits. Having everything ready means you won’t need to make emergency hardware store trips mid-repair. If you need help choosing the right parts, our faucet repair services team can guide you.
Step 1: Turn Off the Water Supply
Safety first! Before you start learning how to fix a leaky faucet, you must turn off the water. Look under your sink for two small valves—one for hot water and one for cold. Turn both clockwise until they stop.
Can’t find shut-off valves under your sink? You’ll need to turn off the main water supply to your house. This valve is usually in your basement, garage, or outside near your water meter. Turn it clockwise to shut it off completely.
After closing the valves, turn on the faucet to drain any remaining water in the lines. This prevents surprise splashes when you take the faucet apart. Keep the faucet open while you work—it releases pressure and makes reassembly easier. If your home lacks proper shut-off valves, consider having new valves installed for easier future repairs.
Step 2: Remove the Faucet Handle
The next step in how to fix a leaky faucet is removing the handle. Look for a small cap or button on top of the handle—this usually says “H” or “C” for hot or cold. Pop it off with a flathead screwdriver to reveal the screw underneath.
Unscrew this screw (it might be a Phillips head or Allen screw) and lift the handle straight up. Some handles are stubborn and might need gentle wiggling. Don’t force it—you could break the handle. If it’s really stuck, try applying penetrating oil around the base and wait a few minutes.
Once the handle is off, you’ll see the internal parts of your faucet. Take a photo with your phone before removing anything else. This picture will help you remember how everything goes back together. This simple step saves many DIY repairs from going wrong.
Step 3: Identify and Replace the Worn Parts
Now you’re at the heart of how to fix a leaky faucet—finding the problem part. Different faucet types have different internal mechanisms. Compression faucets use washers, while cartridge, ball, and ceramic disk faucets use different seals.
For compression faucets (the most common), you’ll see a brass stem with a rubber washer at the bottom. Unscrew the packing nut with your wrench, remove the stem, and check the washer. If it’s cracked, flattened, or damaged, that’s your leak source. Replace it with a new washer that matches the size exactly.
Check the O-ring too—it’s a small rubber ring around the stem. These often cause leaks around the handle base. Gently peel off the old O-ring and roll on a new one. Apply a thin coat of plumber’s grease to the new O-ring so it slides on easily and creates a better seal.
For cartridge or ceramic disk faucets, you might need to replace the entire cartridge. Remove the retaining clip with pliers, pull out the old cartridge, and insert a new one in the same position. Make sure the hot and cold sides match up correctly, or your faucet will be backwards!
Step 4: Clean and Reassemble Everything
While everything is apart, take time to clean the faucet parts. Mineral deposits from hard water cause many leak problems. Soak metal parts in white vinegar for 15 minutes to dissolve buildup, then scrub gently with an old toothbrush.
Understanding how to fix a leaky faucet means knowing that cleanliness matters. Inspect the valve seat—the part inside the faucet body where the washer presses down. If it feels rough or corroded, smooth it with fine sandpaper or replace it. A damaged valve seat will cause new leaks even with fresh washers.
Now reassemble in reverse order. Apply plumber’s grease to threads and O-rings for smooth operation and better sealing. Hand-tighten everything first, then give it a final quarter-turn with your wrench. Don’t overtighten—you’ll damage the new parts or crack the faucet body. If you’re unsure about proper tightness, our leak detection experts can help.
Step 5: Test Your Repair and Check for Leaks
You’re almost done learning how to fix a leaky faucet! Slowly turn the water supply back on by turning the valves counterclockwise. Open them gradually—sudden pressure can damage your fresh repair or cause water hammer in your pipes.
Turn your faucet on and off several times. Check for drips from the spout and around the handle. Look under the sink too—sometimes connections leak when you’ve disturbed them. If you see water anywhere, turn off the supply and check that all parts are seated correctly.
Give your repair 24 hours to prove itself. Sometimes small leaks don’t show up immediately. Check the next day to make sure everything is still dry. If the leak persists, you might have a different problem like a cracked valve seat or corroded faucet body that needs professional attention from our emergency plumbing team.
Different Faucet Types and Their Fixes
Knowing your faucet type helps you learn how to fix a leaky faucet faster. Compression faucets have two handles and use washers—these are the easiest to repair. Ball faucets have a single handle that moves in all directions and contain a ball bearing mechanism.
Cartridge faucets can have one or two handles and use a hollow cartridge that moves up and down. Ceramic disk faucets are the most modern type, using two ceramic disks that slide against each other. Each type requires slightly different repair approaches.
The This Old House repair guide recommends identifying your faucet type before buying parts. Take the old cartridge or parts to the hardware store to ensure perfect matches. Many stores have faucet identification guides to help you find the right replacement parts.
When the Leak Is Behind the Wall
Sometimes learning how to fix a leaky faucet reveals a bigger problem. If you’ve replaced all the parts but water still drips, the leak might be in the pipes behind your wall. Look for water stains on walls, ceiling spots below bathrooms, or musty smells.
Behind-the-wall leaks require immediate attention. They can cause mold growth, structural damage, and huge water bills. You might hear running water when all faucets are off—that’s a classic sign of hidden leaks. Don’t wait to address these issues.
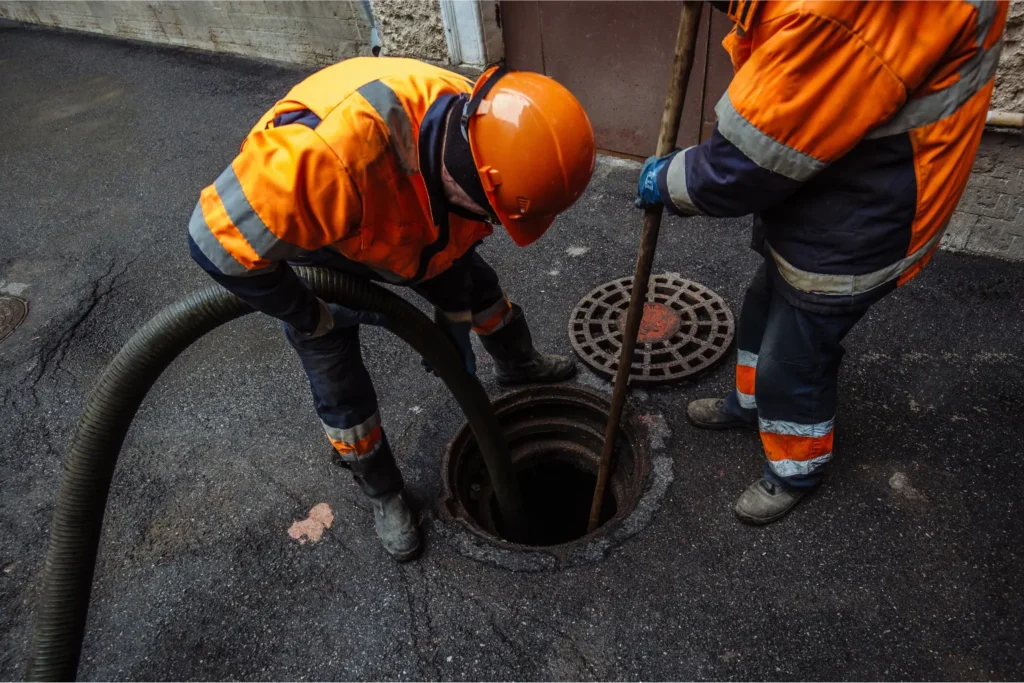
Professional leak detection uses thermal imaging and acoustic sensors to find hidden leaks without tearing up your walls. Our slab leak repair services can locate and fix leaks in walls, floors, and foundations. These problems always get worse over time, never better.
Preventing Future Faucet Leaks
Now that you know how to fix a leaky faucet, let’s talk about prevention. Don’t turn faucets off too hard—excessive force wears out washers faster. Close them gently but firmly, just until the water stops.
Hard water causes mineral buildup that damages faucet parts. Consider installing a water softener if you have hard water. Clean your faucet aerators monthly by unscrewing them and rinsing away sediment. This simple task extends faucet life and maintains good water pressure.
Replace washers and O-rings every few years before they fail. This preventive maintenance costs pennies compared to water damage repairs. Keep a faucet repair kit in your home supplies so you’re ready when small leaks start. Regular maintenance through our plumbing maintenance program catches problems early too.
Common Mistakes to Avoid
Learning how to fix a leaky faucet means avoiding common errors. Don’t skip turning off the water—you’ll flood your bathroom. Always close the drain plug before taking things apart, or small screws will disappear down the drain forever.
Never use too much force when tightening parts. Over-tightening cracks ceramic parts, strips threads, and damages seals. Hand-tight plus a quarter turn is usually perfect. If it feels too tight, it probably is.
Don’t mix up hot and cold parts. They might look identical but have different thread directions or sizes. Keep parts organized as you remove them—lay them out in order or use a muffin tin to hold small pieces. According to the Plumbing-Heating-Cooling Contractors Association, organization prevents 90% of reassembly problems.
Special Considerations for Kitchen Faucets
Kitchen faucets face tougher conditions than bathroom faucets. They get used more often and handle everything from filling pots to washing dishes. Learning how to fix a leaky faucet in your kitchen follows the same basic steps, but kitchen faucets often have spray attachments that can leak too.
Check the spray hose connection under the sink if your spray attachment drips. The O-ring where the hose connects to the water supply often fails. Replace it just like you would a faucet O-ring. Also inspect the hose itself for cracks or wear.
Pull-down and pull-out kitchen faucets have special cartridges that control both water flow and spray functions. These cartridges cost more but aren’t harder to replace—just make sure you buy the exact replacement for your faucet brand and model. Our kitchen plumbing specialists can help identify the right parts.
Upgrading vs. Repairing Old Faucets
Sometimes the smartest way to fix a leaky faucet is replacing it entirely. If your faucet is over 15 years old, constantly needs repairs, or has finish damage, upgrading makes sense. Modern faucets are more efficient, easier to use, and look better.
New faucets with ceramic disk technology rarely leak and last 20+ years. They cost $50-300 depending on style and features. Compare that to repeated repair costs, wasted water, and your time—replacement often wins. Plus, updated faucets increase your home’s value.
Water-saving faucets with aerators reduce flow without reducing pressure, cutting water bills by up to 30%. Look for models with the WaterSense label—they meet EPA efficiency standards. Our faucet installation team can upgrade your fixtures quickly and correctly.
Understanding Water Pressure Issues
High water pressure causes faucets to leak faster. If you constantly battle drips even after learning how to fix a leaky faucet, check your home’s water pressure. Normal pressure is 40-60 PSI (pounds per square inch). Anything over 80 PSI damages faucets, pipes, and appliances.
You can buy a pressure gauge at hardware stores for under $10. Screw it onto an outdoor spigot and turn on the water to test. If pressure is too high, install a pressure-reducing valve on your main water line. This one upgrade protects all your plumbing fixtures.
Low pressure causes different problems but can also lead to leaks. Partially closed shut-off valves, clogged aerators, or corroded pipes reduce pressure. These issues make faucets work harder and wear out faster. Professional water pressure diagnostics identify and fix these problems.
Environmental and Money-Saving Benefits
Fixing leaky faucets helps the environment significantly. The EPA WaterSense program reports that fixing household leaks saves over 10,000 gallons per home annually. That’s enough water for 270 loads of laundry!
Water conservation matters everywhere but especially in drought-prone areas. Every drop you save reduces demand on water treatment facilities and natural water sources. When you learn how to fix a leaky faucet, you’re protecting lakes, rivers, and groundwater for future generations.
The money savings are immediate and ongoing. A family of four can save $170 per year just by fixing easy-to-repair leaks. Multiply that over a decade—that’s $1,700 back in your pocket. Plus lower water bills mean less energy used to heat water, reducing your carbon footprint and utility costs even more.
Tools for Finding Hidden Leaks
Visible faucet drips are easy to spot, but hidden leaks waste just as much water and money. Learning how to fix a leaky faucet is great, but finding all your leaks matters too. Check your water meter before bed, don’t use any water overnight, then check it in the morning. If the reading changed, you have a leak somewhere.
Food coloring in toilet tanks reveals flapper leaks—if color appears in the bowl without flushing, the flapper leaks. Listen for running water when everything is off. Check under sinks for moisture or water stains. Small leaks today become big problems tomorrow.
Moisture meters detect water in walls and floors before visible damage appears. Infrared thermometers spot temperature differences that indicate leaks. These tools cost $20-50 and can save thousands in repair bills. For comprehensive leak detection, our video camera inspection services see inside pipes without destructive digging.
When to Call Professional Help
Knowing how to fix a leaky faucet empowers you, but some situations need professional plumbers. If you’ve replaced all parts twice and it still leaks, something else is wrong. Corroded valve seats, cracked faucet bodies, or pipe problems require special tools and expertise.
Call a plumber if you discover corrosion inside the faucet, if handles won’t budge even with penetrating oil, or if water leaks from places other than the expected spots. Also get help if you’re uncomfortable with any repair step—there’s no shame in calling experts.
Emergency situations definitely need immediate professional attention. If a faucet breaks off, pipes burst, or you can’t turn the water back on, call right away. Our 24/7 emergency team responds fast to prevent water damage. We can also handle complex repairs like replacing corroded pipes or fixing cartridge faucets with unusual parts.
Maintaining Your Faucet After Repair
After successfully learning how to fix a leaky faucet, maintain your repair with simple care. Wipe faucets dry after each use to prevent mineral buildup. Clean with mild soap and water—harsh chemicals damage finishes and seals.
Remove and clean aerators every three months. Unscrew the aerator from the faucet tip, rinse away sediment, and soak in vinegar if mineral deposits are stubborn. This simple task maintains water pressure and prevents particles from damaging internal parts.
Inspect for tiny drips monthly. Catching small leaks early makes repairs easier and prevents water damage. Keep your faucet repair kit stocked with extra washers and O-rings. Quick fixes prevent small problems from becoming big headaches. Regular home plumbing check-ups catch issues you might miss—our maintenance team can help.
Start Saving Water and Money Today
You now know how to fix a leaky faucet in five simple steps. Turn off the water, remove the handle, replace worn parts, clean and reassemble, then test your repair. These basic skills save money, conserve water, and give you confidence to tackle other home repairs.
Don’t let that annoying drip continue another day. Gather your tools, buy the right parts, and fix that leak this weekend. Your lower water bill next month will prove the effort was worth it. Plus, you’ll have the satisfaction of fixing something yourself!
Remember that not every leak is a DIY project. Complex faucets, corroded parts, or behind-the-wall problems need professional attention. We’re here to help when repairs go beyond basic fixes or when you simply don’t have time. Contact Solid Plumbing and Drains anytime for expert help—we make faucet repairs fast, affordable, and permanent!